Before you begin
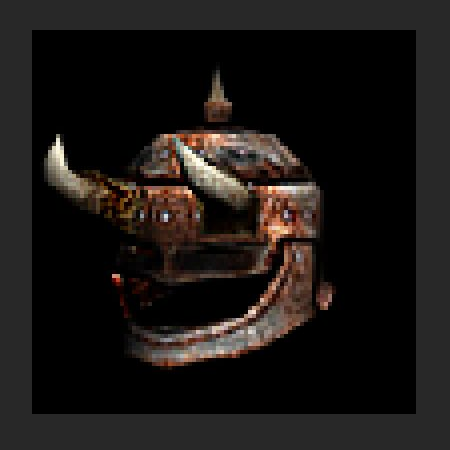
A classic FATE icon often comes as two images: the color artwork, such as helmet11.png, and its black-and-white alpha mask, helmet11a.png. Combine them to make one PNG with transparency.
Use PhotoCraft ↗, a free image editor from ArtCraft. These steps use version 0.23.1 on Windows. Work on copies and keep both images at the same pixel size. Here, “color image” means the visible artwork, not a normal map.
Open both images#
Choose File > Open and open the color image. Repeat for the alpha image. They appear in separate tabs.
The color image supplies the artwork:
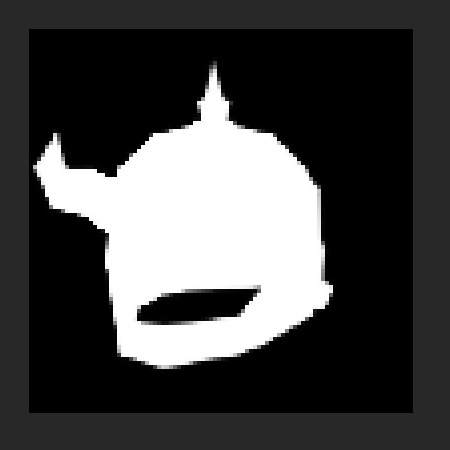
The alpha image controls which parts show. White stays visible, black becomes transparent, and gray gives a soft, partly transparent edge.
Add a mask to the color image#
- Return to the color image's tab.
- In Layers, select the artwork layer. If it is a locked Background, click the padlock at the right of its row to unlock it.
- Click Add a mask at the bottom of Layers, the rectangle with a circle inside. A white thumbnail appears beside the artwork.
Copy the alpha into the mask#
- Switch to the alpha image's tab and select its Background layer in Layers.
- Press Ctrl+A to select the whole image, then Ctrl+C to copy it.
- Return to the color image. Click the white mask thumbnail, not the artwork thumbnail.
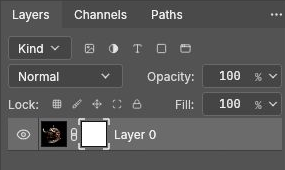
- Press Ctrl+V. The mask thumbnail should now show the black-and-white silhouette, and the background should become a checkerboard.
- Press Ctrl+D to clear any remaining selection.
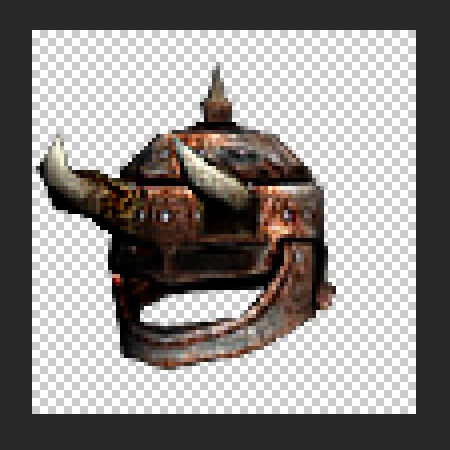
Don't erase the black from the color image: that can remove dark parts of the item too. The matching alpha mask already describes the cutout.
Save a transparent PNG#
- Choose File > Save a Copy.
- Set Save as type to PNG and choose a new filename, such as helmet11-transparent.png. Save it outside the original game folder.
- Open the saved PNG again and check that the checkerboard is still visible around the item. Keep the original pixel dimensions.
Save a separate PSD or .pcraft project if you want to edit the artwork and mask later. PNG keeps the transparency, but combines the result into one image. JPEG doesn't keep transparency.
Edit or create an icon#
Click the artwork thumbnail to change the colors or draw your design. Click the mask thumbnail to change its outline: paint white to show an area, black to hide it, or gray for a softer edge.
Keep the artwork and mask aligned and use the original icon's dimensions. Check the result at 100% zoom before saving; a shape that looks clear when enlarged may be hard to read in the inventory.
Quick fixes#
- A black-and-white layer covers the artwork: undo the paste, select the mask thumbnail, then paste again.
- Nothing pasted: select the alpha image's layer before using Ctrl+A and Ctrl+C.
- The item disappeared but its background stayed: select the mask and use Invert in its Properties panel.
- The edges don't line up: check that both source images have the same dimensions and that neither was moved, cropped, or resized separately.
- A dark fringe remains: inspect the soft edge at the icon's normal size. Black pixels in the color image can still show through partly transparent areas; don't delete every dark pixel from the item.
Use it in your mod#
Reborn supports embedded PNG transparency on supported icon paths. Use the existing ICON fields and check the result in the inventory and tooltip. Classic FATE may still need the separate color and alpha files, so keep both originals. See FATE DAT modding for packaging.
The PhotoCraft steps and saved PNG were checked. Installing this edited icon and displaying it in Reborn 0.3.0 haven't been verified yet.
The screenshots use an original FATE icon for instruction. Original artwork belongs to its respective rights holders.
No chapters match that search. Try a different word or clear the search.